How to Force Kaltura Capture to Reupload
If a user is experiencing problems uploading a Kaltura Capture recording such that it ends up in Brightspace, this solution may work.
This approach is a little bit tricky. Try this only if:
- The video was recorded in Kaltura Capture
- The recording didn't end up in "My Media"
- In user don't have the option to re-upload the video through Kaltura Capture
Luckily, Kaltura Capture stores files on your computer and they won’t disappear until you delete them yourself. These instructions show you how to locate and manually upload these files.
Locate Kaltura Capture Video Files on Your Computer
For Windows Computers
You have two options for how to locate your recordings.
Option 1
- Right click on the Kaltura Capture icon on the desktop and select “Properties.”
- Click the “File Location” button in the Properties window. This will open the BIN folder, which is a level deeper than you need.
- In the file path bar, go up one folder to the Capture folder, then open the Recordings Folder.
- Sort the list by “Date Modified” so that you can group all the files for each recording together.
Option 2
For Macs
About Your Kaltura Capture Files
The files associated with each Kaltura Capture recording may appear to have gibberish names.

So what are you seeing here?
-
.mp4 files. The .mp4 files are the recordings. If you recorded two sources (e.g. Screen and Webcam), there will be two .mp4s. You can play them locally on your computer to figure out what each video is.
-
“Slides” folders. The “Slides” folders exist if you ran a PowerPoint presentation in presentation mode during your recording. Note that if you have folders like these, it means that Kaltura created chapter markers for your video.
-
.json files. The .json file contains the media upload parameters for Kaltura Capture.
-
.jpg files. The .jpg file is the thumbnail Kaltura generated.
We strongly recommend against deleting or renaming any files in your “Recordings” folder. The recommended method of deleting Kaltura Capture recordings is by using the Kaltura Capture Application Library View (that you can access via the “Manage” link in the Kaltura Capture recording bar), but make sure they are in your “My Media” and working as expected first.
How To Manually Upload a Single File
- Within the “Recordings” folder (see the instructions above), copy the appropriate .mp4 file and paste it to a different location on your computer, such as your desktop.
- Rename the new copy of the file to something that makes sense to you. Be sure not to remove the .mp4 extension
- Follow the steps to upload a file from your computer to Canvas, selecting the file you’ve copied. If you're not sure how to do this, read our tutorial on how to upload media files to Canvas.
How to Force Kaltura Capture to Re-Upload
This technique is necessary if multiple video files are necessary for the educational content of the video. If you want or need your video to have multiple streams (e.g. your video and your screen capture simultaneously), and if you’re unable to locate your recording in the “Manage” section of the Kaltura Capture application, the instructions below are what you should do.
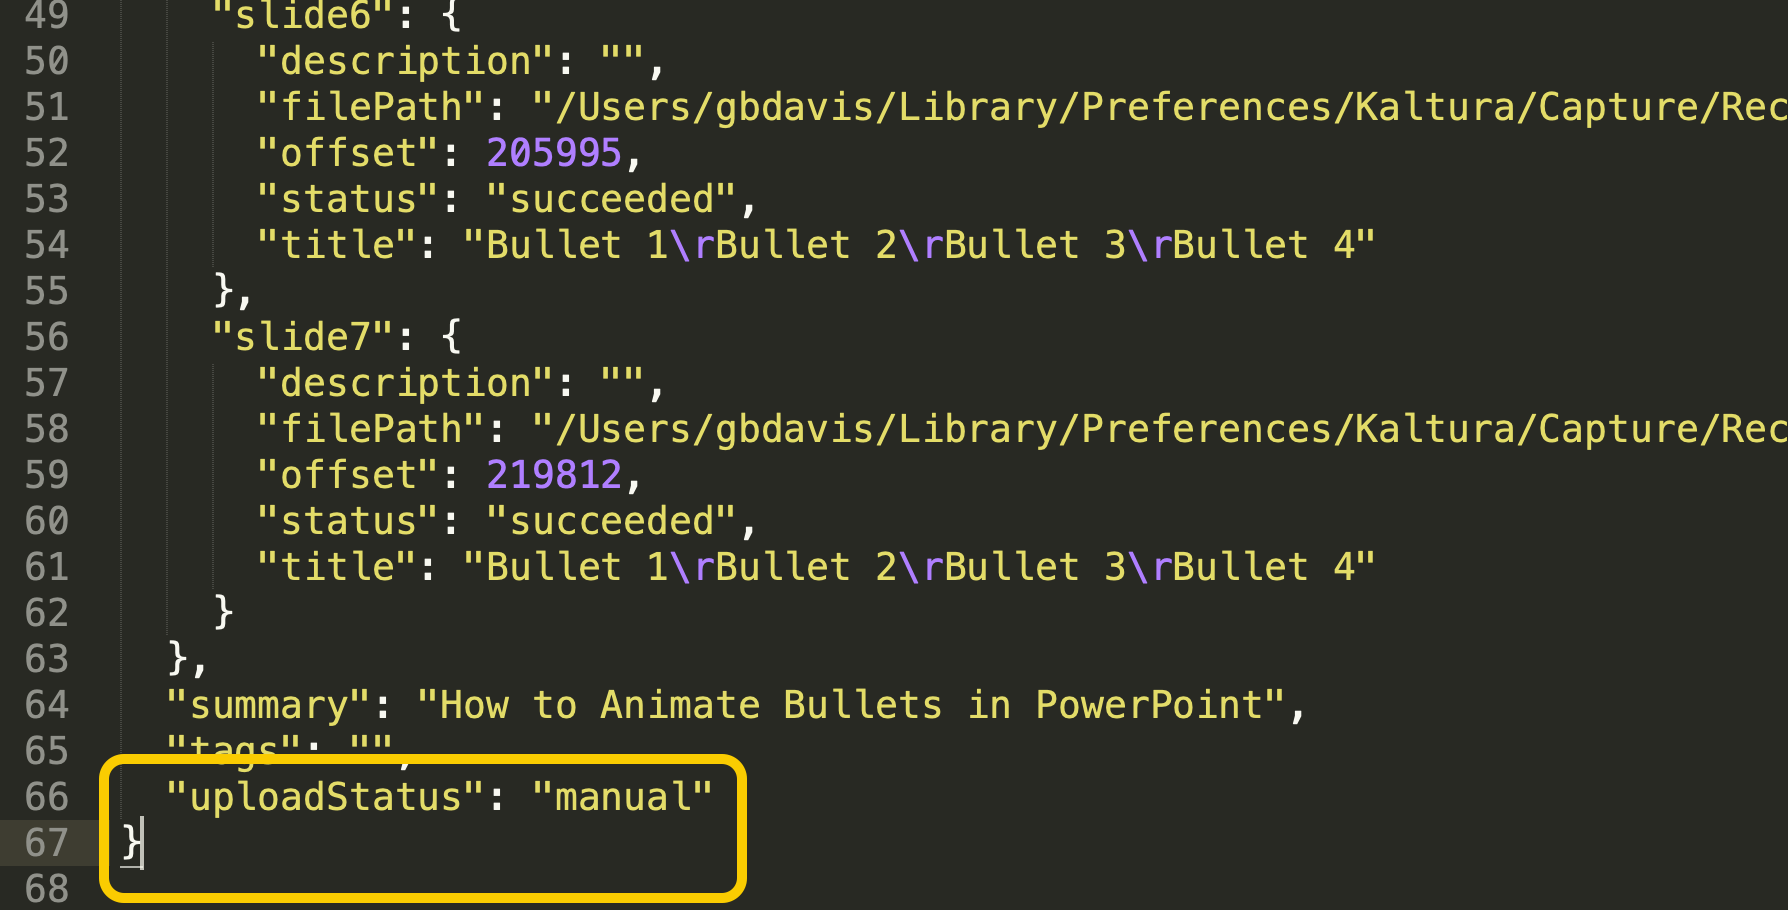
- Save the file.
- Relaunch Kaltura Capture.
- In the recorder that opens, click “Manage” below the Kaltura logo on the right.
- In the window that opens, scroll the list to locate the recording you just prepared by editing the .json file. It should have an active "Upload" button next to it.

- Click the "Upload" button. Be sure to wait until the upload has completed before you close Kaltura Capture.
Your video should now show up in “My Media” within Canvas. Note that it will need to process for a little while. When the processing is done, we recommend that you watch the video to ensure it looks the way you want it to.