Managing Your Course NavBar
In order to customize your course Navbar, you must first make a copy of the Navbar and mark it as active. Once you make a copy of the NavBar
How to Customize the Navbar
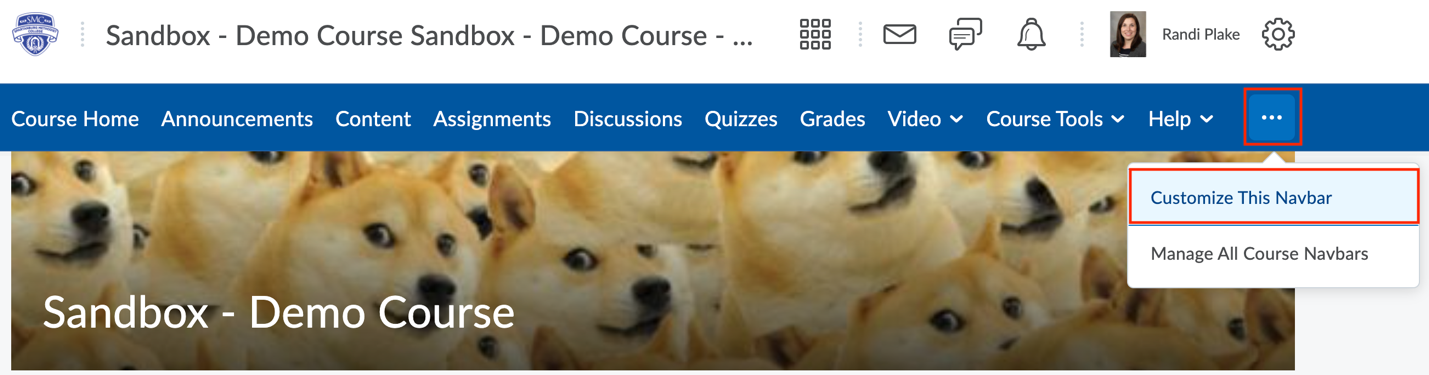
1. On the Navbar, hover to the blank spot next to Help. Press the three dots that appear and select Customize This Navbar from the dropdown menu.
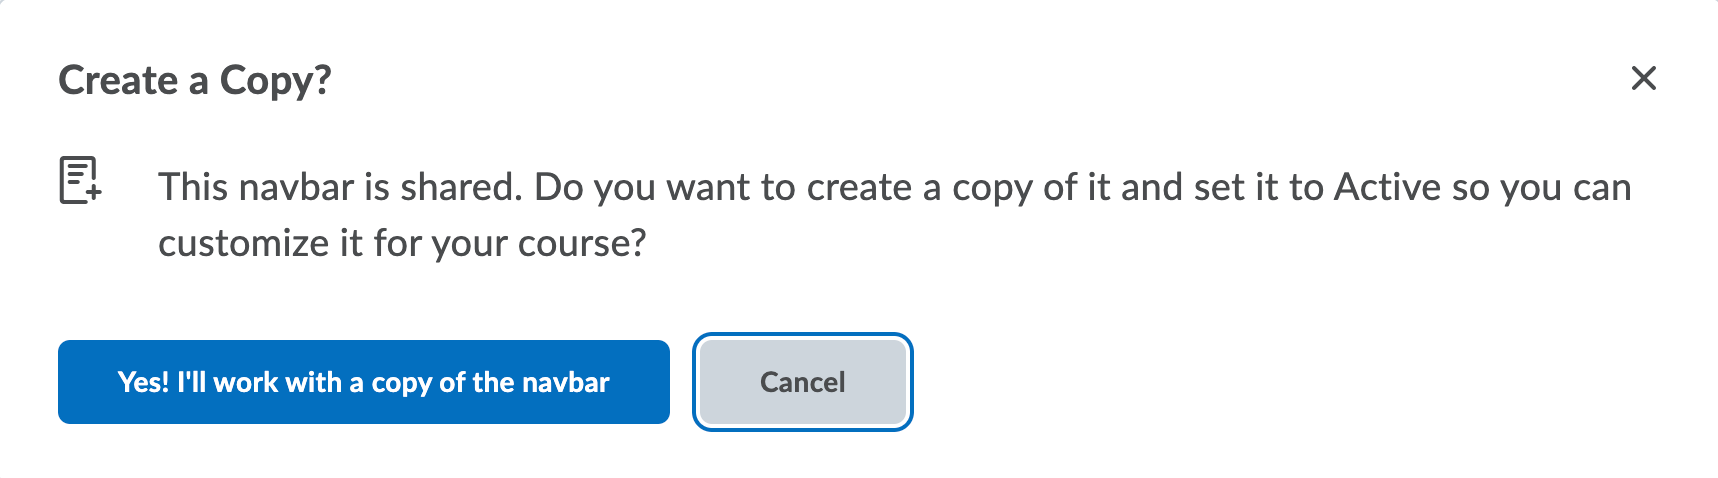
2. Confirm that you would like to make a copy of the shared Navbar.
3. If you’d like, rename the new Navbar.
4. Under Links, you can drag and drop the links in the order you desire. You can add new tools to the Navbar by pressing Add Links.

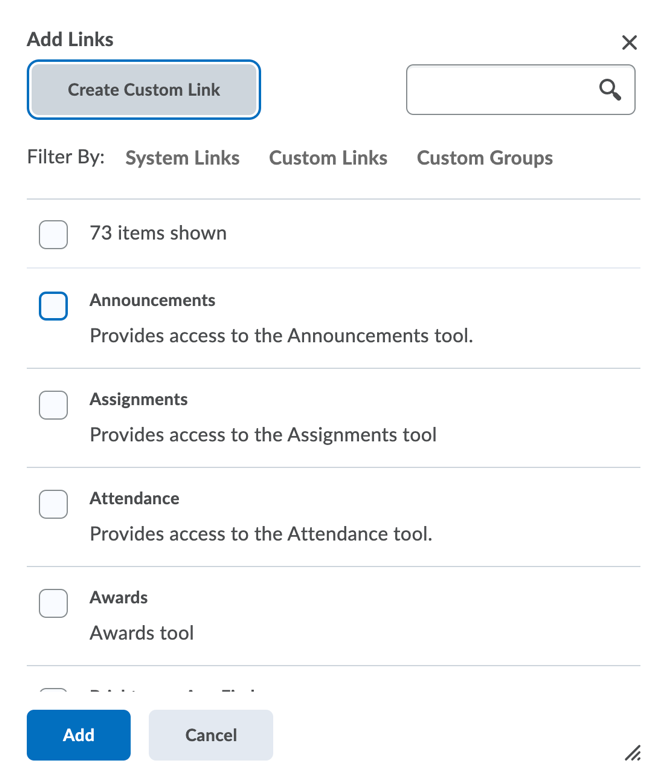
5. Under Add Links, you have access to over 70 system links. You can also create custom link to an external site if desired, by pressing Create Custom Link. When you are finished, press Add.
6. When you are finished customizing this Navbar, press Save and Close.
How to Switch Navbars or Create a New Navbar
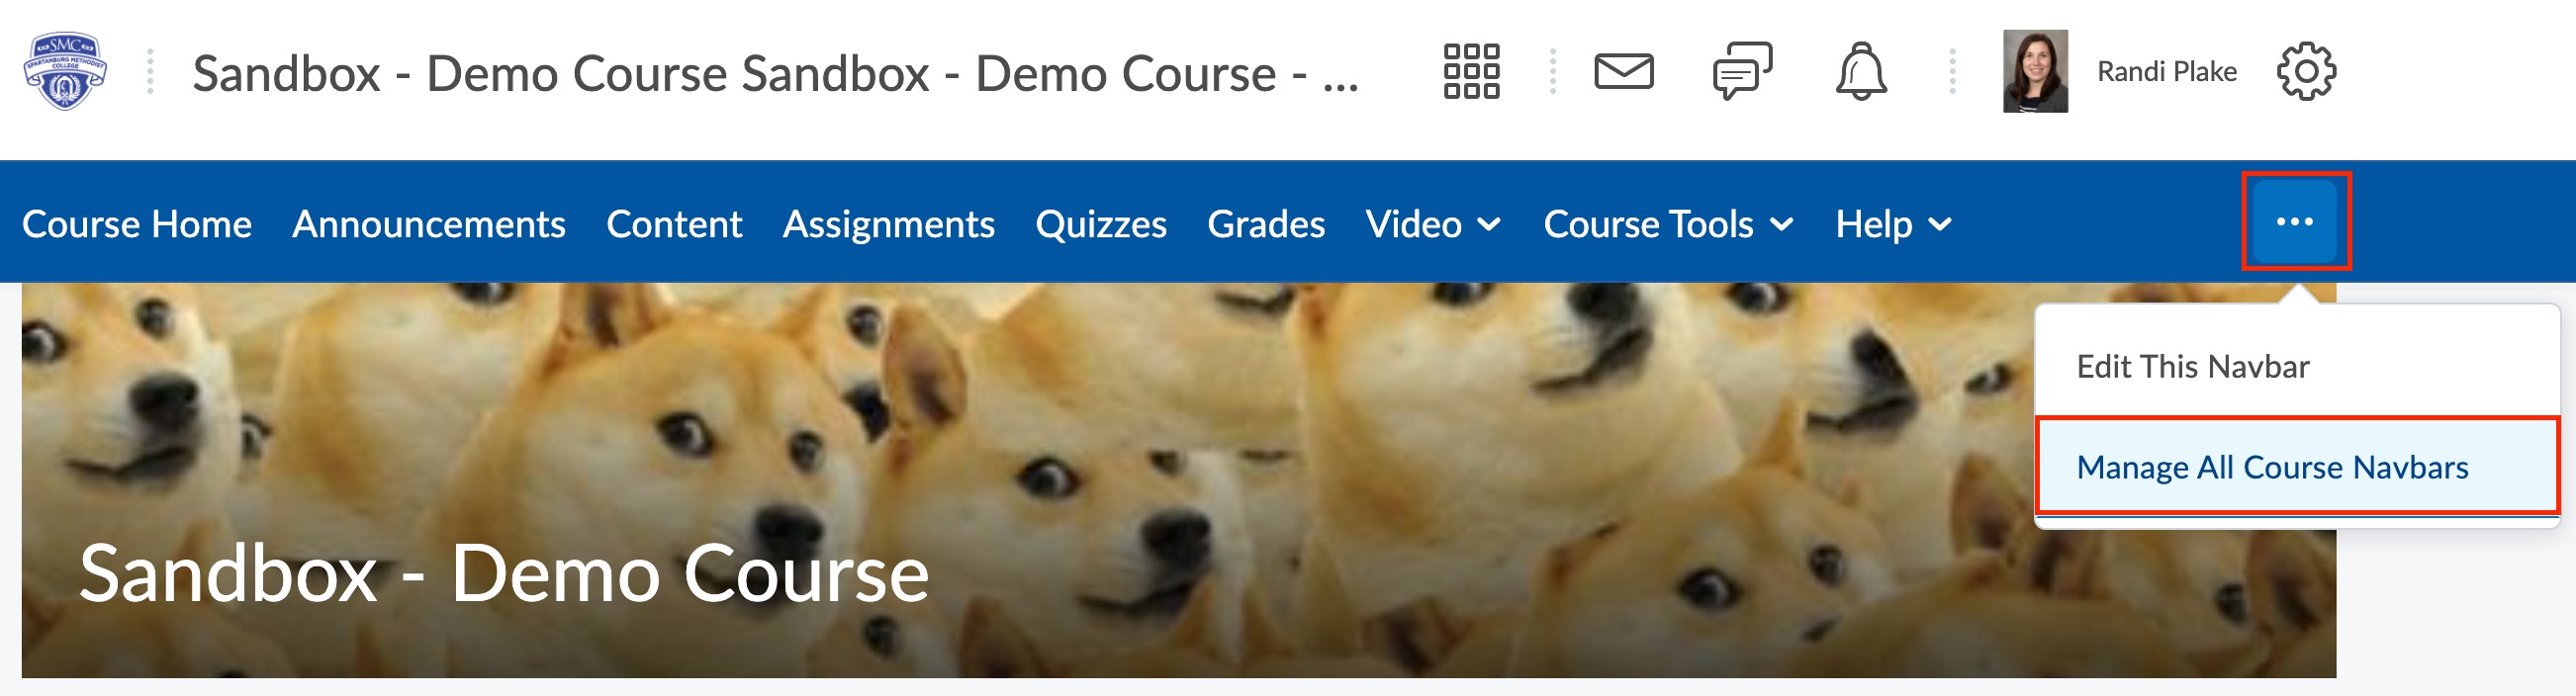
1. If you’d like to switch to another Navbar or create a new Navbar, hover to the blank spot next to Help. Press the three dots that appear and select Manage All Course Navbars from the dropdown menu.
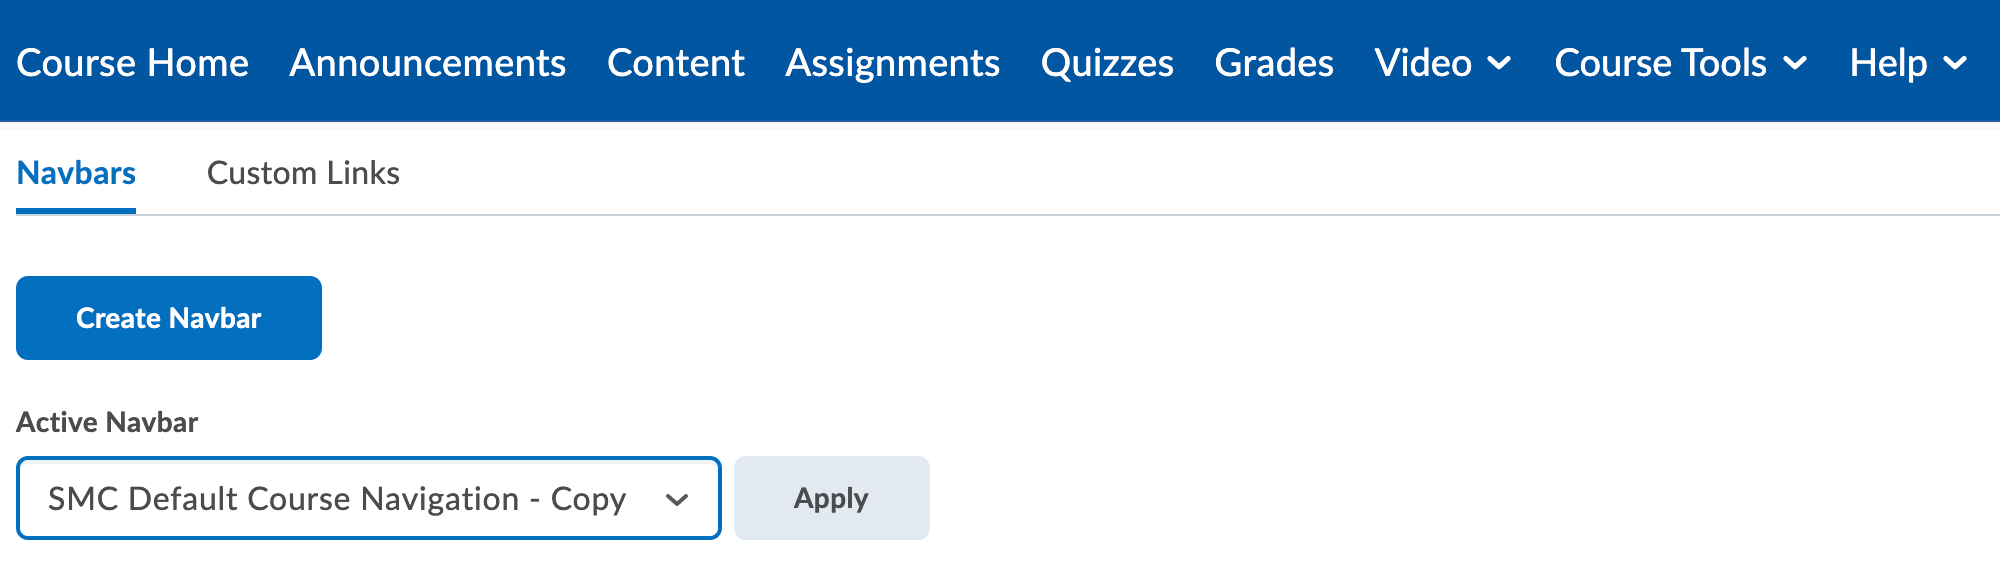
2. To change the active Navbar, select the Navbar from the Active Navbar dropdown menu. To create a Navbar from scratch, press the Create Navbar button. For new Navbars, repeat steps 3-6 from above.
3. To edit an existing Navbar, make it the active Navbar, then press the title of the Navbar. It will be blue if you can edit it. If it isn't blue, make sure you have made it the active Navbar. You cannot edit or delete the shared Navbar (SMC Default Course Navigation).
